Shaft Assembly Mechanism
- Fit the pump so that it rests on port blockface.
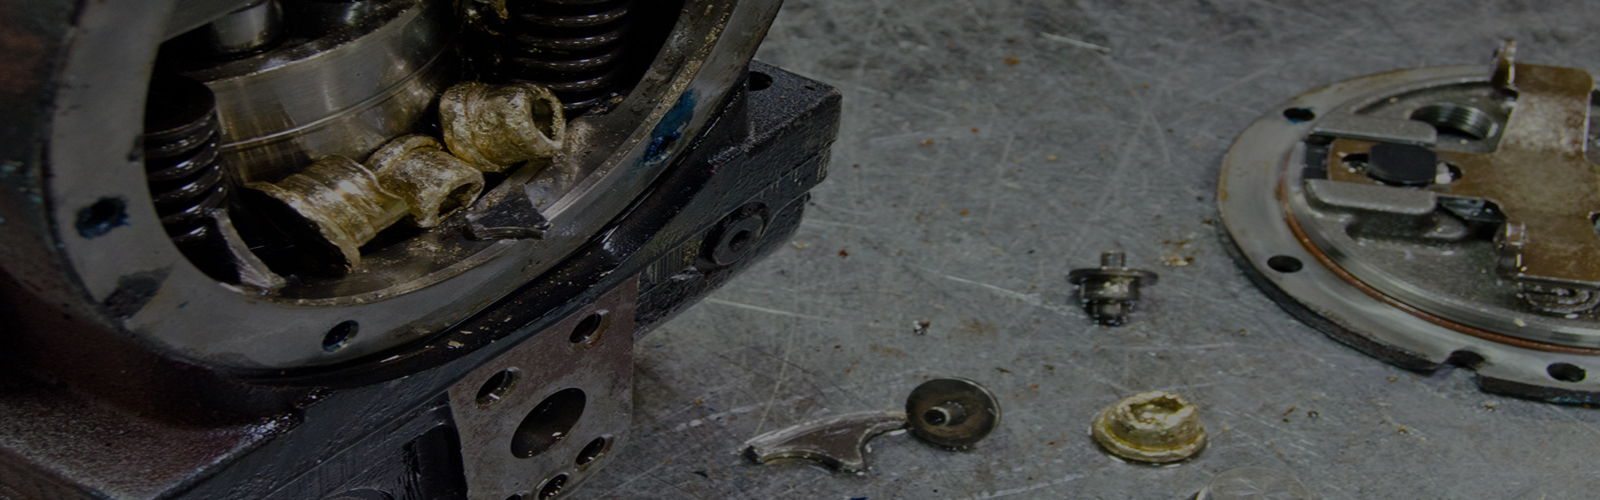
- Placing the shaft and bearing assembly (1) in the mounting flange.
- For a non-flexible shaft application use the shim (2) that will give the least clearance around the shaft bearing. It is best not to use a shim with a floating shaft.
Take away the two screws that were in there just to hold the cradle in the mounting flange.
- Setting the retaining ring (3) in the mounting flange.
SEAL ASSEMBLY
- The shaft seal is obtainable only as a complete assembly. Before installation look over all the
seal parts. Handle the lapped seal seat and the carbon ring very cautiously, so that both parts
are free of scratches, cracks or other damage.
- Affixing the spring retainer (e) over the shaft and next to the bearing-retaining ring.
- Place the spring (d) up next to the retainer.
- Apply oil to the inside surface of the rubber friction ring (f) and put the shell that has
the friction ring and the carbon ring (c) over the shaft with the carbon ring exposed.
- Put an application of grease to the square section rubber seal (a) and place on the seat (b).
- Fix the seal and seat in the seal retainer (6). The lapped part of the seat must face the
PARTS LIST
- Nton.Part NotuacrtpUM 11513-43968Splined shaft assy. See Fig. 1
- 1S13-43969Keyed shaft assy. See Fig. 1
- 21033-53963 or 53984Shim
- 31356-65013Retaining Ring
- 41623-00008Shaft seal
- 51033-71567Seal retainer gasket
- 81033-71574Seal retainer
- 74631-45007Nylite gasket
- 84306-40021Hex head screw
- 91033-71616Balance stem
- 102359-09240Socket head cap screw
- 111033-70546Balance plate
- 122033-71247Spacer
- 13235949180Socket head cap screw
- 148631-45007Nylite washer
- 158353-25018Hex head washer screw
- 161See BelowControl assy, (output)
- 171See BelowControl assy, (input)
- 188306-40184Hex head cap screw
- 191671-000170-Ring-
- 201671-000480-fling'
- Some Controls use gasket #035-53575 in lieu of 0-Rings.
- OUTPUT CONTROLPUT NO.
- Standard with volume indicator 313-42064
- Torque limiter.313-42180
- INPUT CONTROL
- ["a" MTG.--[ "A" MTG.-I
- f "B" MTG. [ "A" MTG.
- MTG.-CW -CCW
- 102,103S13-42069
- MTG.-CCW MTG.-CW
- 102.103S13-42070
- 302.303S13-42073
- 402.403S13-42065
- 4A2.4A3S13-42066
CONTROL COVER ASSEMBLIES
Grease the O-rings (19 & 20) and put in counter bore and groove in covers.
Place the cover assemblies (16 & 17) over the dowel pins on the housing pads and fasten the seals (14) and screws (15). Torque to 30 ft. Ibs.
The input cover assembly ought to be installed on the right hand side of the housing on pumps with "B" suffix. Mount the output cover assembly on the right hand side on models with "A" suffix.